I’m participating in the Winter Crochet Set Blog Hop with Sandra Stitches. Come join the fun! Your favourite bloggers and designers have teamed up to bring you January full of free crochet accessories patterns!
Each pattern will be a free PDF download for 24 hours!
The best way to make sure that you don’t miss a day is to bookmark the main blog hope page and visit it daily for new coupon codes.
Main Blog Hop page where you get your coupon codes:
You will then visit my Ravelry page where you will redeem the code for free download:
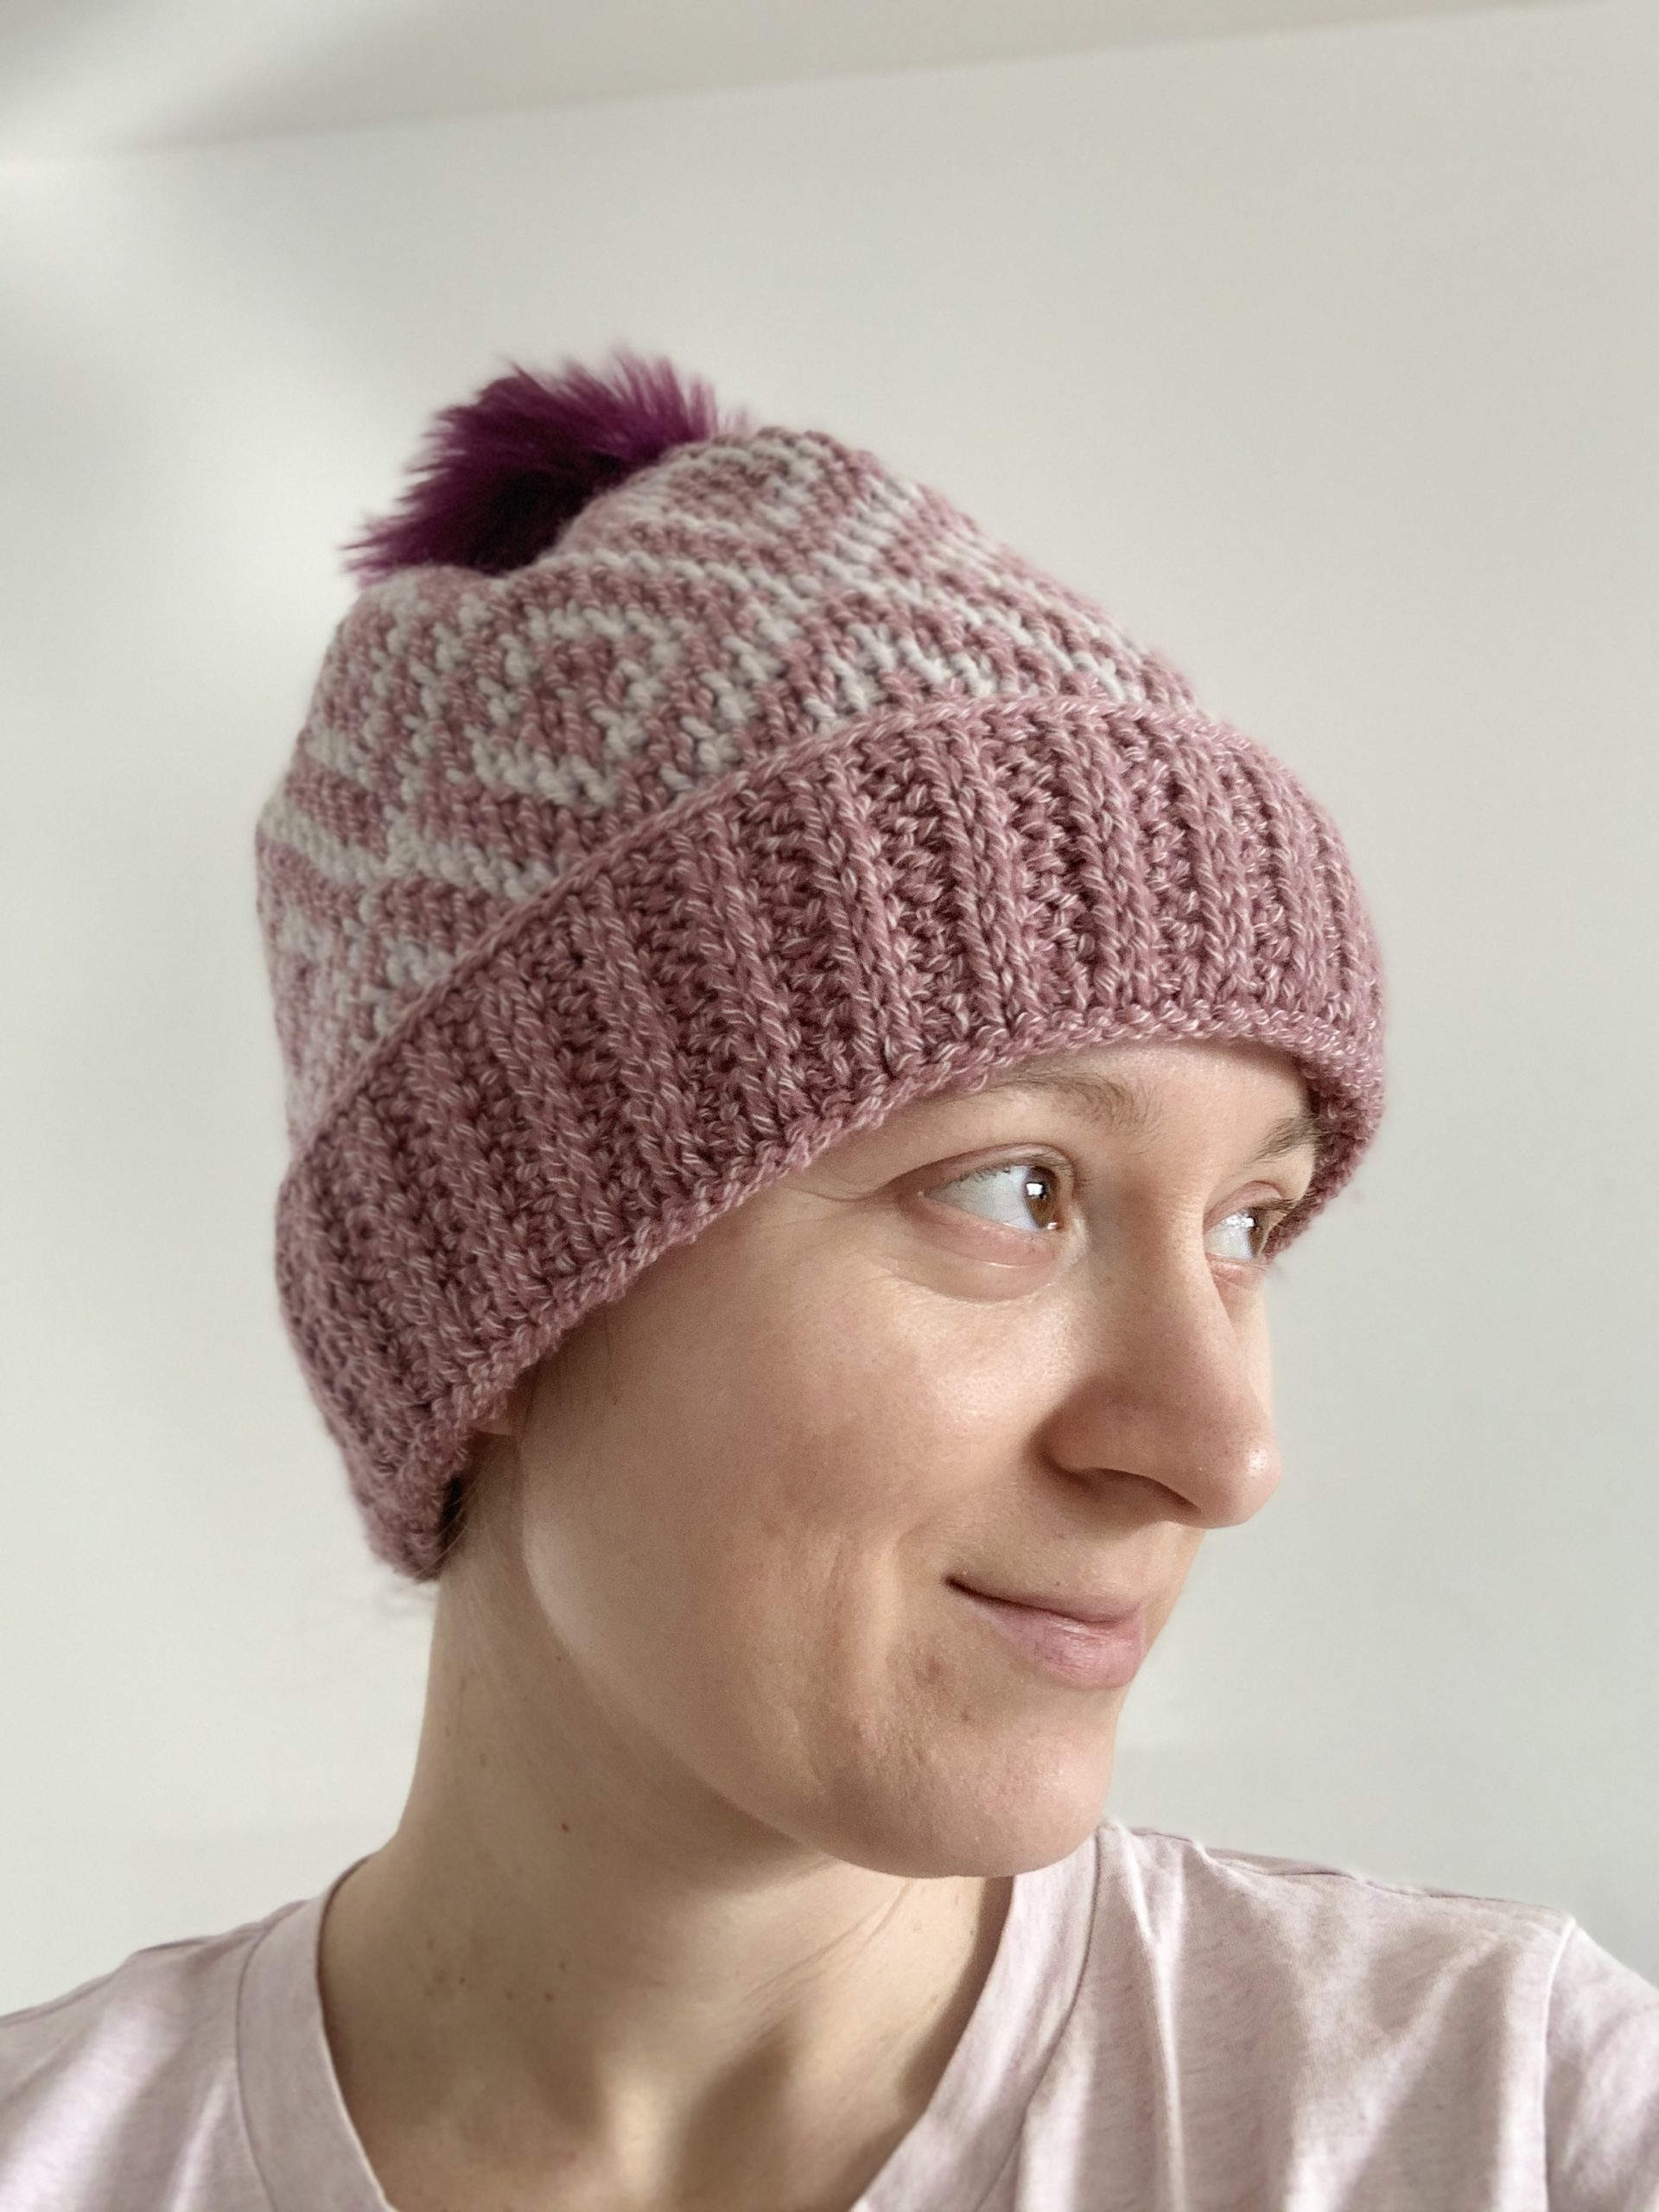
Ebun Hat, Tunisian crochet hat, is a beautiful accessory made using stranded colourwork and ribbing.
Ebun Hat is the perfect addition to the Ebun Cowl and Ebun Headband for those who love matching sets and it would also make a beautiful gift set. Moreover, both items can be worked up in a few evenings making it a great option for last moment presents. The hat is available in one size and would fit most adults.
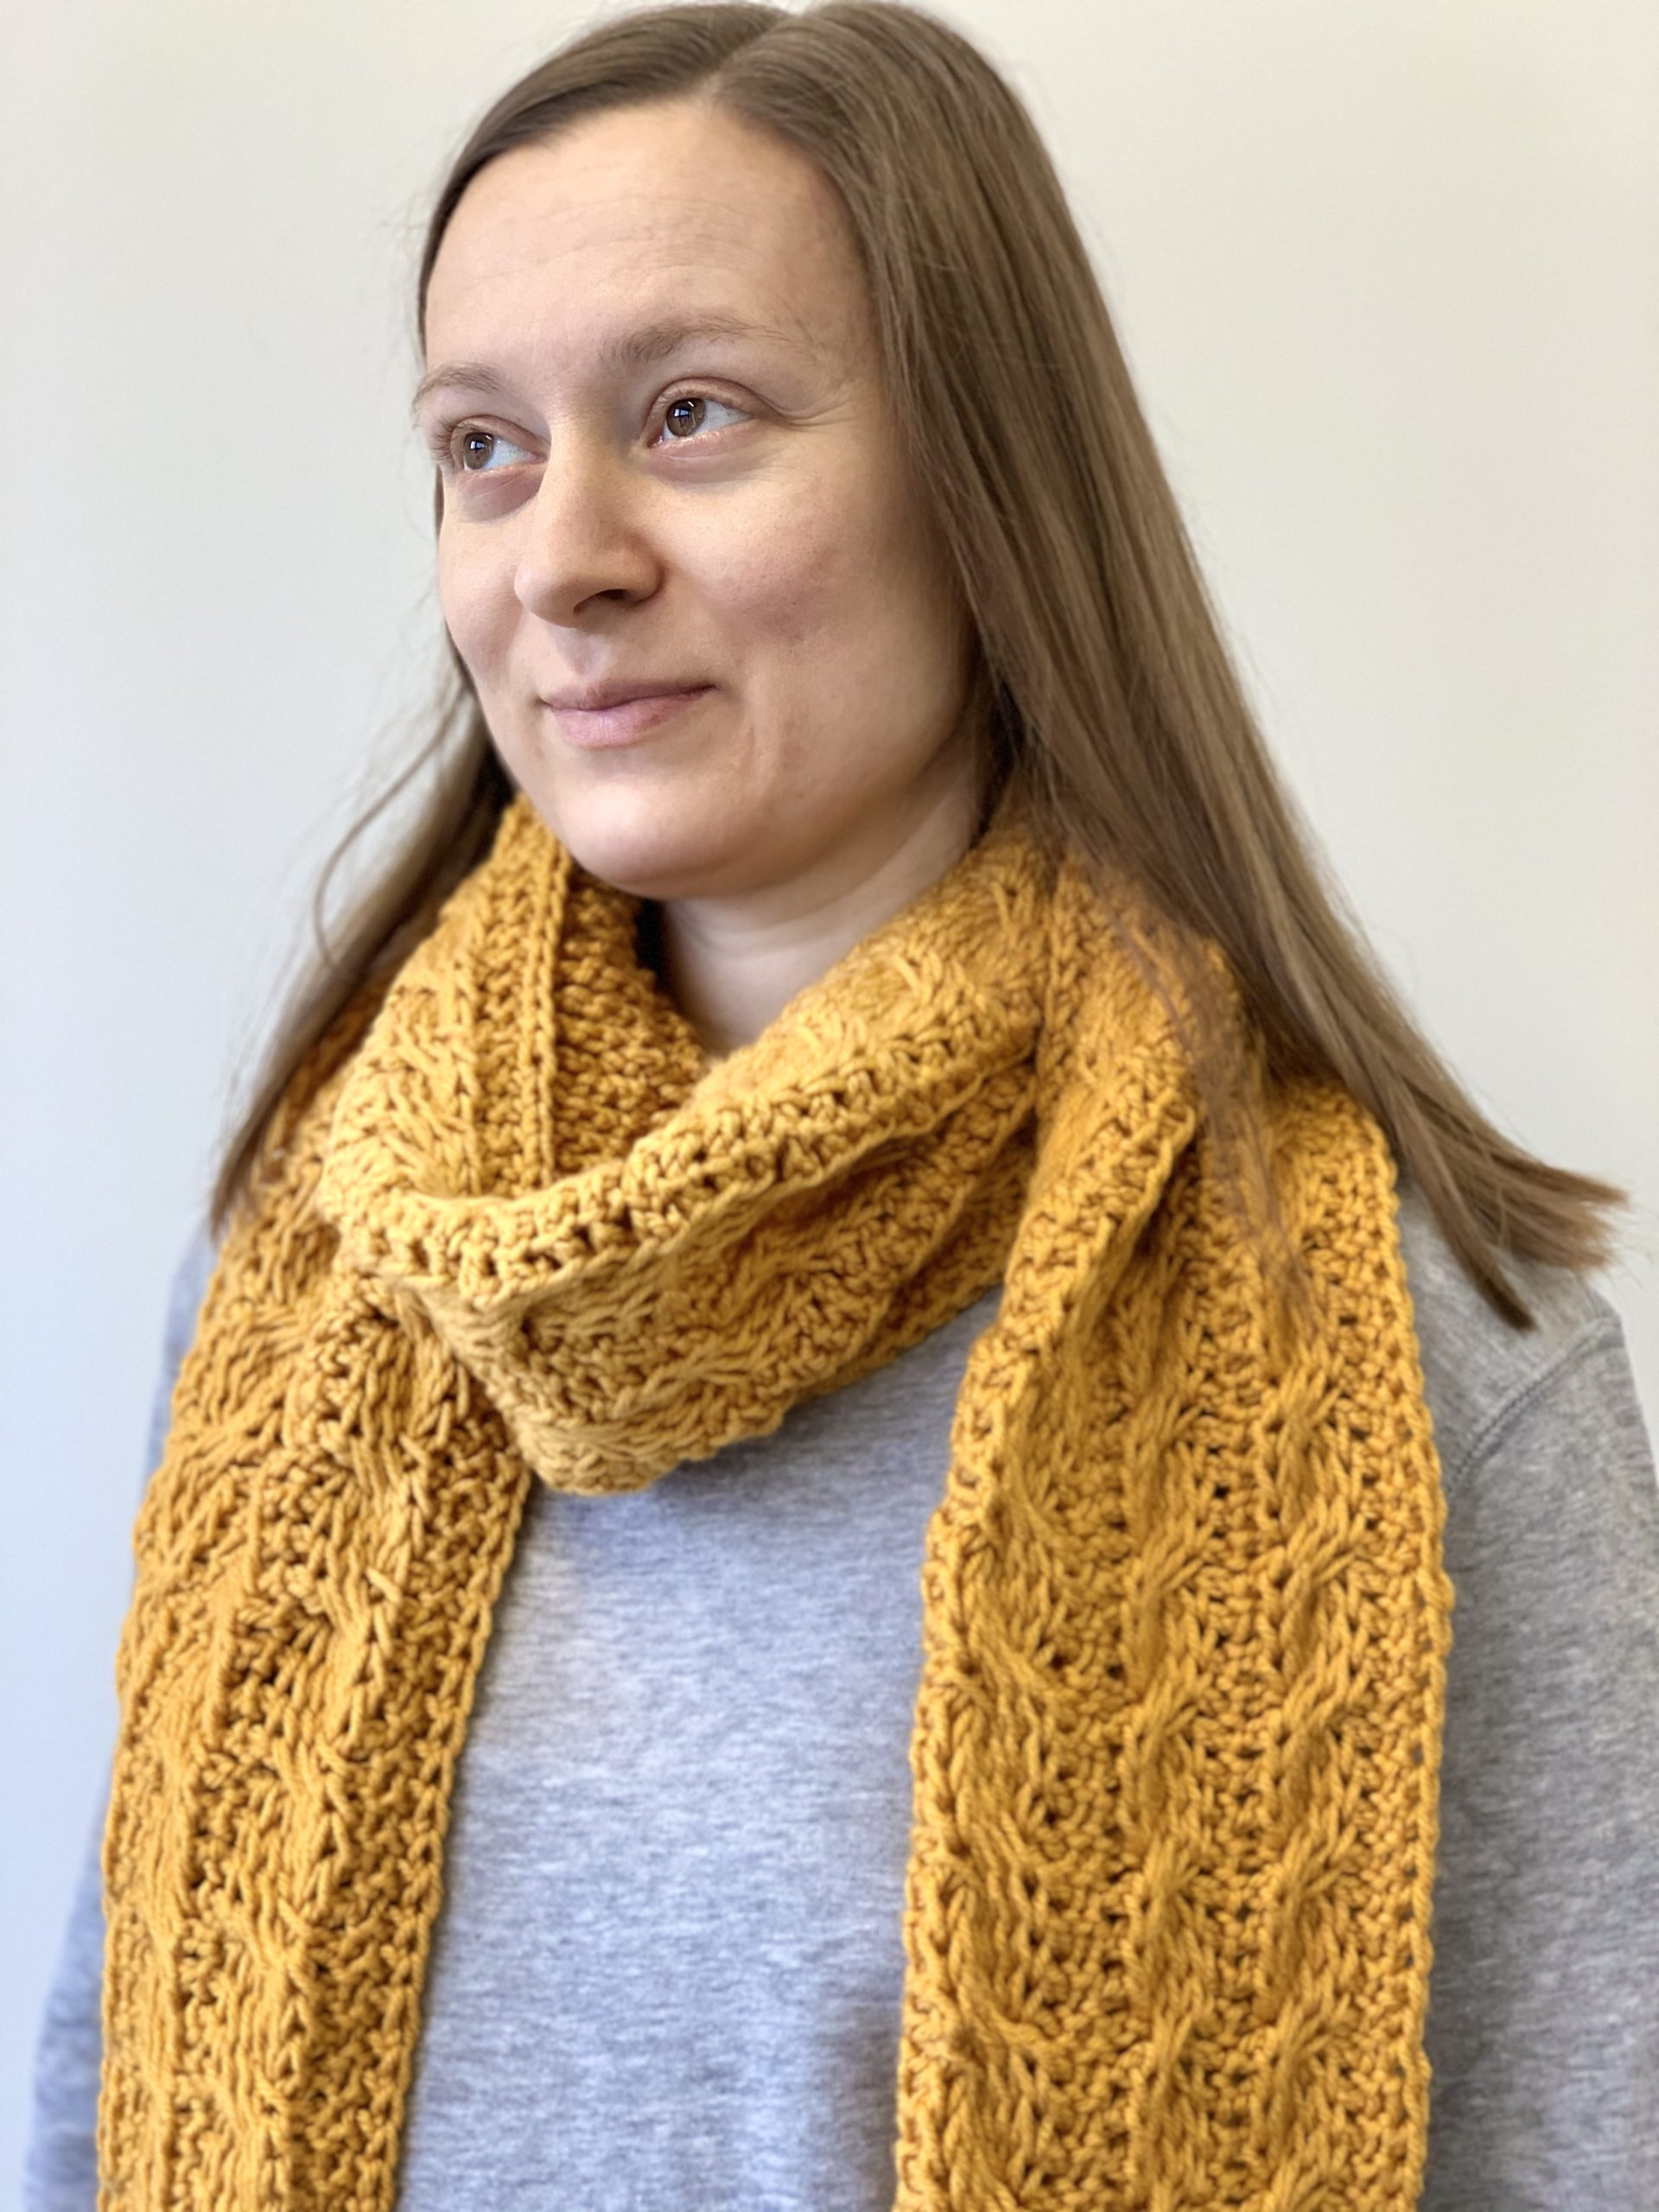
You can find the Ebun Cowl pattern here and Ebun Headband here.
You can purchase the add free PDF version of the pattern at LoveCrafts here and Ravelry here.
Last updated: 07/12/2024
This site contains affiliate links to products. We may receive a commission for purchases made through these links at no extra cost to you. This helps to cover the running cost of the website and enables me to continue making free patterns.
Please NOTE that this pattern is subject to copyright and is my intellectual property. The online version is for personal use only. Do not re-publish or sell this pattern in part or full or make video tutorials of it. Any such actions are a breach of copyright and can result in legal action.

Skills required:
To create this beautiful Tunisian crochet hat, you will need to master (or already know) these stitches and techniques:
Chain (ch), Foundation crochet cord, Tunisian crochet technique (alternating forward (FP) and return (RP) passes), Tunisian simple stitch (tss), Tunisian purl stitch (tps), Tunisian knit stitch (tks), end row changing colours, changing colours as you go, binding off in Tunisian crochet, blocking, Locking Mattress Stitch.
Skill level:

Finished measurements:
The final Tunisian crochet hat measurements (blocked):
51.5 x 28 cm (when ribbing is not folded or 21 cm with folded ribbing) cm (approx. 20.75 in x 11.25 in (when ribbing is not folded or 8.5 in with folded ribbing))
Materials and tools:
To get the exact look as on the pictures of my Tunisian crochet hat, you will need:
Yarn:
Expression Fiber Arts North DK (66% Extra Fine Merino Wool, 34% Pima Cotton | DK | 100 g (3.5 oz) = 241 m (264 yds)),
- Anchorage (A) 1 skein,
- Kenai (B) 1 skein

Tools and notions:
- Tunisian crochet hook size 5 (H/8) and 5.5 (I/9) mm with cable (at least 40 cm (16 in)) or size to obtain the gauge
- 9.5 cm Pompom (Schachenmayr in Burgundy)
- Tapestry needle
- Scissors
You can get your craft supplies here.
Gauge:
Blocked Gauge:
5.5 (I/9) mm hook: 19 sts x 15 rows = 10 x 10 cm (4 x 4)” over st pattern
5 (H/8) mm hook: 19 sts x 15 rows= 10 x 10 cm (4 x 4)” over ribbing pattern

The gauge is essential for this Tunisian crochet hat, as it impacts the circumference of the hat and therefore the fit.
Gauge helps you to understand how the project turns out in terms of the final size. If you would like to achieve the exact size of the final project as in the instructions above, you gauge needs to match exactly to the above.
If you get more stitches and/or rows than stated above using the exact hook size as per instructions, your final project will turn out smaller. Conversely, if you get less stitches and/or rows than stated above using the exact hooks size as per instructions, your final project will turn out bigger.
To make adjustments, if you get more stitches and/or rows, you can try using bigger hook size to get closer to the desired size. Conversely, if you get less stitches and/or rows, you can try using smaller hook size to get closer to the desired size.
It may take trial and error to try out a few hook sizes to achieve the exact size.
Alternatively, if you really don’t want to make several samples to achieve the desired size, you can try to alter your tension as you work the project. However, I would advise to try this out once you master the basics of Tunisian crochet as it may be a bit tiresome to try to master the basics of Tunisian crochet and focus on alternating your tension while working the project.
If this Tunisian crochet hat is your first Tunisian crochet project and are not sure if this project matches your skills, I have a Tunisian crochet masterclass tutorial that will jump-start your Tunisian crochet journey!
Stitch guide:
Tunisian crochet stitches are worked in forward and return pass from right to left, with the number of stitches (loops (lps)) increasing on the hook during the forward pass and decreasing during the return pass.
Return pass is worked in the same way for all stitches (rows of stitches) used in this project as follows: 1 ch, *yrh, draw through 2 lps on hook, rep from * until 1 lp on hook.
Edge stitches:
Right edge stitch- This is the first stitch and is not usually worked into because there is one loop on the hook left after completing the return pass of the previous row. This one lp corresponds to the first stitch of the new row.
Left edge stitch- This stitch is referred to in the pattern as the End Stitch (ES) and is crocheted as follows: Rotate the end of the fabric towards yourself, insert the hook under both bars (left and right) of the last st, yrh and pul.
- First row of Tunisian crochet: Insert the hook in the back bump of second ch from hook, yrh and pul across. Standard return pass.
- Tunisian simple stitch: Insert the hook from right to left under front vertical bar of the next st, yrh and pul. Standard return pass.
- Tunisian purl stitch: Bring yarn to the front on the work and hook, insert the hook from right to left under the front vertical bar of the next st, yrh and pul. Standard return pass.
- Tunisian knit stitch: Insert the hook from front to back between the front and back vertical bar, yrh and pul. Standard return pass.
Bind off: Insert hook from right to left under front vertical bar of the next st, yrh, pul and pull through the lp that is on the hook. One loop remains on the hook.
RP End row changing colours in Tunisian crochet: The new colour is added when finishing the return pass of the previous row and 2 lps are remaining on the hook. Yrh with the new colour and draw through 2 lps.
Changing colours as you go: When changing the colours within a row in Tunisian crochet, place the new strand of yarn over the old strand. This locks the old colour in place and prevent gaps occurring between the different colour sections.
Stitch charts:
Ribbing

Main stitch pattern (colourwork)


Notes:
- This Tunisian crochet hat is worked flat, RS facing from right to left, and assembled using the Locking Mattress Stitch along the short sides of the project.
- The ribbing is worked in two parts; first half is worked continuously from the foundation cord till Row 10. The project is then placed RS down and another 9 rows of ribbing are worked from the other side of foundation cord, followed by the colourwork section to the top of the hat.
- Ribbing is made using smaller hook, while the main body of the hat is made using larger hook.
- In the stranded colourwork (the background colour is carried over and wrapped around the pattern colour every 2-3 stitches to avoid loose floats.
- It is important to keep the passive yarn taut but not too tight to avoid distorting the diamond pattern), use colour A for tks and colour B for tss (EXCEPT for Rows 40-41, which are in worked colour A). This combination gives the final project a distinct texture.
- Both Edge Stitches are worked in colour A.

Instructions:
Tunisian crochet hat
Ribbing
With A and smaller hook, make crochet foundation cord 98 sts long.
Row 1 FP: Insert the hook under top front and back lps of second st from hook, yrh and pul across. 98 lps on hook.
Row 1 RP and all other RPs: Standard RP.
Row 2: *Tps, 2 tks; rep from * to last st, ES.
Rows 3-9: As Row 2.
Row 10: Bind off.
Place the ribbing RS down with Row 10 being at the bottom. Attach A to the first st of the other side of crochet foundation cord (under front and back lps).
Rows 11-19: Rep rows 1-9.
Body of the hat – colourwork
Change to larger hook. Work tks in colour A and tss in colour B.
Row 20: *Tks, 2 tss, 2 tks, 2 tss, 3 tks, 2 tss, 2 tks, 2 tss; rep from * to last st, ES.
Row 21: *2 Tks, 2 tss, 2 tks, 2 tss, tks, 2 tss, 2 tks, 2 tss, tks; rep from * to last st, ES.
Row 22: *Tss, 2 tks, 2 tss, 2 tks, 3 tss, 2 tks, 2 tss, 2 tks; rep from * to last st, ES.
Row 23: *2 Tss, 2 tks, 2 tss, 2 tks, tss, 2 tks, 2 tss, 2 tks, tss; rep from * to last st, ES.
Row 24: *Tks, 2 tss, 2 tks, 2 tss, 3 tks, 2 tss, 2 tks, 2 tss; rep from * to last st, ES.
Row 25: *2 Tks, 2 tss, 2 tks, 2 tss, tks, 2 tss, 2 tks, 2 tss, tks; rep from * to last st, ES.
Row 26: *Tss, 2 tks, 2 tss, 2 tks, 3 tss, 2 tks, 2 tss, 2 tks; rep from * to last st, ES.
Row 27: As Row 25.
Row 28: As Row 24.
Row 29: As Row 23.
Row 30: As Row 22.
Row 31: As Row 21.
Row 32: As Row 20.
Row 33: *2 Tss, 2 tks, 2 tss, 2 tks, tss, 2 tks, 2 tss, 2 tks, tss; rep from * to last st, ES.
Rows 34-39: Rep rows 20-25 once.
Rows 40-41: With A, tss across to last st, ES.
Row 42: Bind off.

Finishing:
Weave in ends and block the Tunisian crochet hat to final measurements as in schematic. It is recommended to block the project in two stages, first with the project laid flat and second with the ribbing folded at the crochet foundation cord.
Join two short sides by Locking Mattress Stitch (See Special Techniques).
Turn hat inside out with WS facing. Using yarn needle and approx. 20 in of yarn, thread yarn between every 2-3 sts of last row around the whole row. Pull the yarn tight enclosing the crown. Make a knot securing the closing and turn hat right side out (RS facing). Attach a faux fur pompom using loose ends of drawstring if needed, otherwise these can be woven in on the inside of the hat.
I would love to see and share your work on social media, use #ebunhat or #exquisitecrochetuk.
Pattern support: exquisite.crochet.uk@gmail.com
Special techniques:
Foundation Crochet Cord
- Make a slip knot allowing enough yarn on the short end for the length of the foundation cord
- Place the short end of yarn over the hook from front to back
- Yarn over the hook with the long end of yarn and pull through both lps on the hook
- Repeat steps 2 and 3 for required number of stitches.
The video tutorial can be found here:
Locking Mattress Stitch
- Place the hat RS down with edges aligned side by side. Stitches will be worked through the top lps of each edge.
- Start the seam by inserting the needle from left to right through the first stitches of both panels at the bottom.
- Move one stitch up on the right side, insert the needle from right to left and continue to the first stitch on the left side (the one already worked into).
- Move one stitch up on the left side, insert the needle from left to right and continue to the last stitch worked into on the right side.
- Repeat steps 3 and 4 to end.
- Weave in ends.
Abbreviations
| Abbreviations: | |
| ch- chain | yrh- yarn round the hook |
| st(s)- stitch(es) | pul- pull up a loop |
| lp(s)- loop(s) | FP- forward pass |
| tss- Tunisian simple stitch | RP- return pass |
| tps- Tunisian purl stitch | approx.- approximately |
| tks- Tunisian knit stitch | rep- repeat |
| RS- right side | ES- end stitch |
Further resources:
Pattern Video tutorial:
For endless crochet inspiration, you can subscribe to AllFreeCrochet website here.
If you prefer to have all your craft inspiration in one place, FaveCrafts is definitely the place to go. Why not subscribe to their newsletter here so you would not miss a thing!
Did you enjoy the Ebun Hat pattern? Why not try my other Accessories patterns:


Beautiful hat.. Thank you for sharing.. Babs
Thank you! 🙂
I love this pattern! What color do you use for the RP? Or do you alternate as with the FP?
Thank you!
Hello Terri, many thanks! Yes, the colours are alternated on RP to mirror the FP.
Thank you so much for your quick reply!
My pleasure! 😊