Introduction
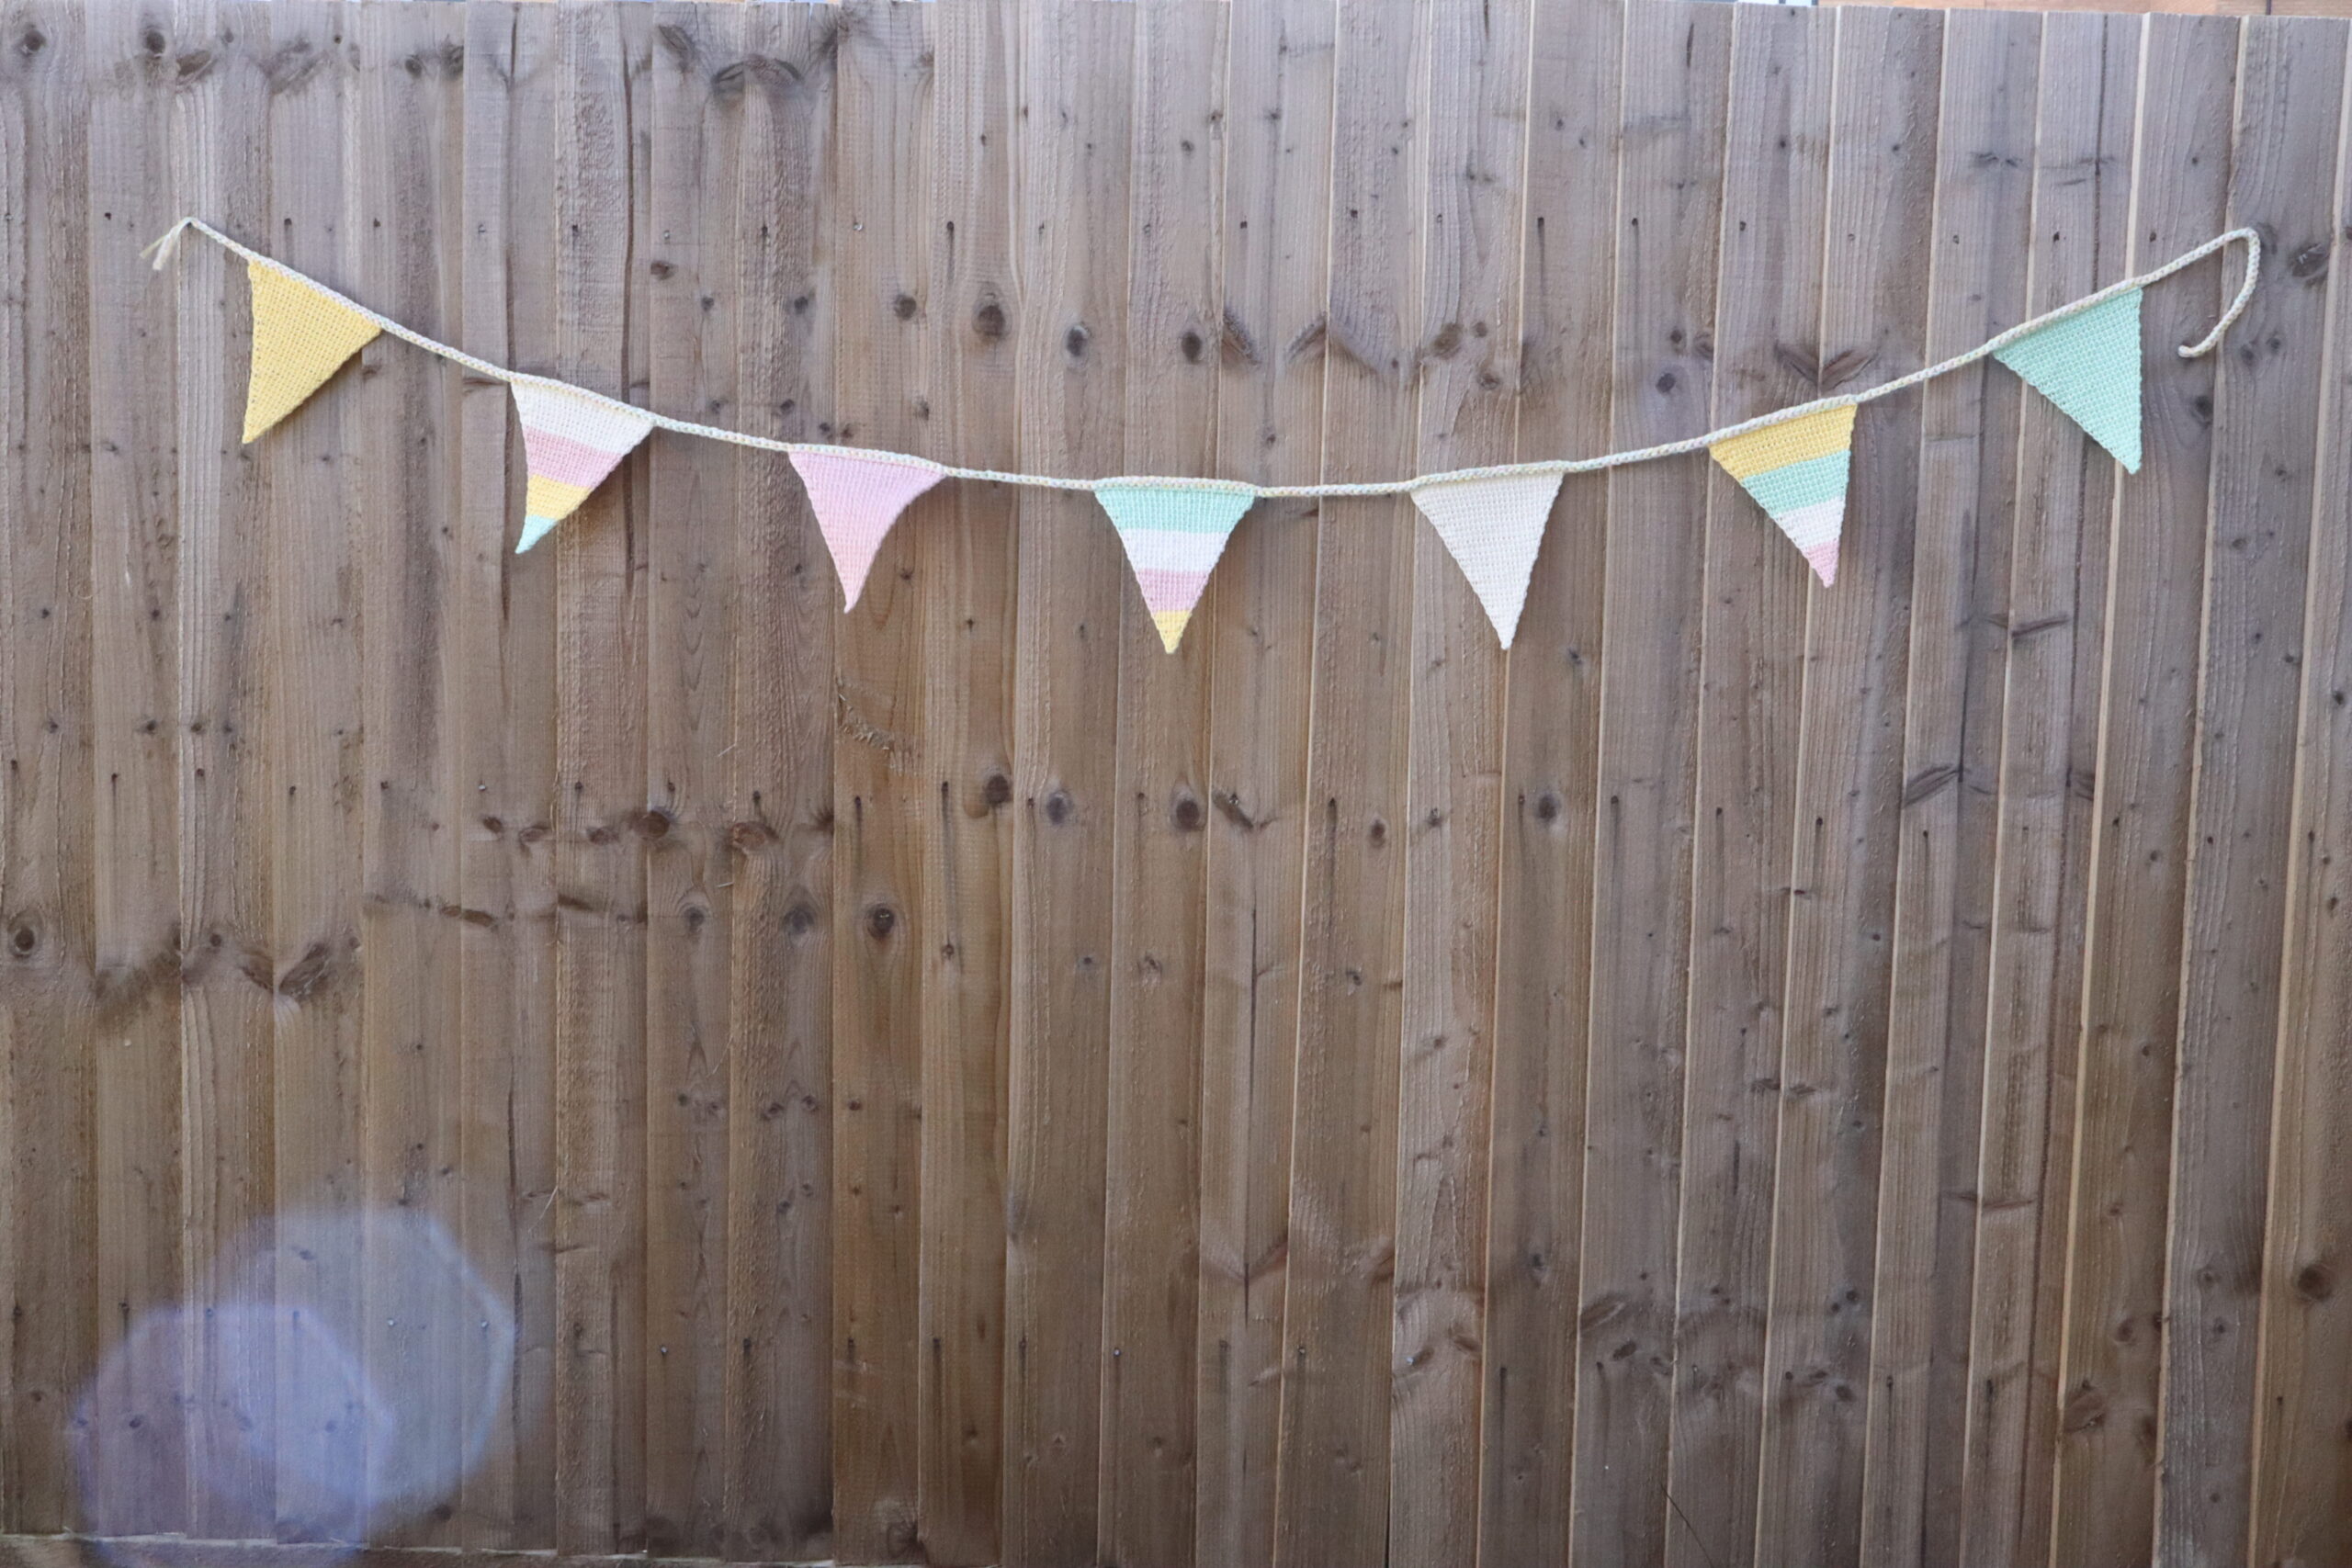
Tilly Bunting is a beginner friendly Tunisian crochet bunting in pastel colours. The project would make a wonderful home decoration for parties, baby showers or any other joyous occasion!
The basic pattern is for elongated triangles in solid colours and stripes. They are worked from bottom up with regular increases that enable crocheters to learn fundamentals of Tunisian crochet.
The pattern is easily customisable to smaller/ larger size or triangles being placed closer/further to/from each other.
Last updated:
Let’s connect! Join my Facebook pattern support and community group here:
Please feel free to join my pattern support Facebook group:
https://www.facebook.com/groups/918351746812
You can purchase the ads free PDF version of the pattern in my pattern shops at
LoveCrafts here:

or Ravelry here:

This site contains affiliate links to products. We may receive a commission for purchases made through these links at no extra cost to you. This helps to cover the running cost of the website and enables me to continue making free patterns.
Please NOTE that this pattern is subject to copyright and is my intellectual property. The online version is for personal use only. Do not re-publish or sell this pattern in part or full or make video tutorials of it. Any such actions are a breach of copyright and can result in legal action.

Skills required to make Tunisian crochet bunting:
To create this beautiful Tunisian crochet bunting you will need to master (or already know) these stitches and techniques:
Chain, Tunisian crochet technique (alternating forward and return passes), increasing under front loop of ch [front horizontal bar] (inc A), increasing under back loop of ch [back horizontal bar] (inc B), Tunisian Simple stitch (tss), Tunisian Full stitch (tfs), basic colourwork in Tunisian crochet: stripes, Tunisian simple stitch bind-off, blocking.
Skill level:

Finished measurements:
The final Tunisian crochet bunting measurements (blocked):
Individual triangles: 15 x 17.5 cm (approx. 6 x 6.75 in)
String length: 88 in (223.5 cm)
Materials and tools needed to make Tunisian crochet bunting:
To get the exact look as on the pictures of my Tunisian crochet bunting, you will need:
Yarn:
Hobbii Baby Cotton Organic (100% Organic Egyptian Cotton | fingering weight | 50 g (1.76 oz) = 170 m (186 yds)):
- White (#01) 1 ball (A),
- Mint (#09) 1 ball (B),
- Baby Pink (#12) 1 ball (C),
- Pastel Yellow (#27) 1 ball (D)

Other yarn alternatives:
- Paintbox Yarns Cotton 4-ply
- Mayflower Cotton 8/4 Organic
- Scheepjes Organicon
Please always swatch when substituting yarn:
For further alternatives, please see:
Hobbii Baby Cotton Organic | Substitutes (yarnsub.com)
Other tools:
Tunisian crochet hook size 4 mm (US size G-6) or size to obtain the gauge
6 mm crochet hook (US size J-10)
Tapestry needle
Scissors
Optional: laundry starch
You can get your craft supplies here.

Gauge:
Blocked Gauge:
19 sts x 16 rows = 10 x 10 cm (4 x 4 in) over st pattern
Gauge is not essential for this project, but it will impact the amount of yarn used.
Gauge helps you to understand how the project turns out in terms of the final size. If you would like to achieve the exact size of the final project as in the instructions above, you gauge needs to match exactly to the above.
If you get more stitches and/or rows than stated above using the exact hook size as per instructions, your final project will turn out smaller. Conversely, if you get less stitches and/or rows than stated above using the exact hooks size as per instructions, your final project will turn out bigger.
To make adjustments, if you get more stitches and/or rows, you can try using bigger hook size to get closer to the desired size. Conversely, if you get less stitches and/or rows, you can try using smaller hook size to get closer to the desired size.
It may take trial and error to try out a few hook sizes to achieve the exact size.
Alternatively, if you really don’t want to make several samples to achieve the desired size, you can try to alter your tension as you work the project. However, I would advise to try this out once you master the basics of Tunisian crochet as it may be a bit tiresome to try to master the basics of Tunisian crochet and focus on alternating your tension while working the project.
If this Tunisian crochet bunting is your first Tunisian crochet project and are not sure if this project matches your skills, I have a Tunisian crochet masterclass tutorial that will jump-start your Tunisian crochet journey!
Stitch guide to make Tunisian crochet bunting:
Tunisian crochet stitches are worked in 2 steps; forward and return pass from right to left, with the number of sts (lps) increasing on the hook during the forward pass and decreasing during the return pass.
Return pass is worked in the same way for all stitches (rows of sts) used in this project as follows: 1 ch, *yrh, draw through 2 lps on hook, rep from * until 1 lp on hook.
Edge stitches:
Right edge stitch- This is the first lp on hook and counts as first st unless otherwise stated.
Left edge stitch- This st is referred to in the pattern as the End Stitch (ES) and is crocheted as follows: Rotate the end of the fabric towards yourself, insert the hook under both bars (left and right) of the last st, yrh and pul.
Tunisian crochet stitches:
- First row of Tunisian crochet: Insert the hook in the back bump of second ch from hook, yrh and pul across.
- Tunisian simple stitch: Insert the hook from right to left under front vertical bar of the next st, yrh and pul.
- Tunisian full stitch: Insert the hook from front to back in the next space between 2 sts, yrh and pul.
Special techniques and stitches:
Increase under front horizontal bar (inc A): Insert the hook from front to back under the next front horizontal bar, yrh and pul (1 st increased).
Increase under back horizontal bar (inc B): Insert the hook from front to back under the next back horizontal bar, yrh and pul (1 st increased).
Simple colourwork in TC: Stripes: To create stripes, change colour at the end of return pass by working last yarn over and pull through 2 loops in new colour.
Bind off:
Tunisian simple stitch bind-off: Insert hook from right to left under front vertical bar of the next st, yrh, pul and pull through the lp that is on the hook. One lp remains on the hook.

Abbreviations:
| Abbreviations used in Tunisian crochet bunting: | |
| ch- chain | yrh- yarn round the hook |
| st(s)- stitch(es) | pul- pull up a loop |
| lp(s)- loop(s) | FP- forward pass |
| tss- Tunisian simple stitch | RP- return pass |
| tfs- Tunisian full stitch | rep- repeat |
| inc A- increase under front horizontal bar | RS- right side |
| inc B- increase under back horizontal bar | approx.- approximately |
Notes:
Triangles:
- Triangles are worked flat, RS facing from right to left. The bunting is worked from bottom up with 1 inc on each side every other row.
- The stitch count refers to the number of lps on hook on FP.
String:
- String is worked with 4 strands of yarn at once using 6 mm crochet hook. The string can be made using various methods, such as chains, plait or crochet cord.
- The sample shown on pictures was made using crochet cord. Video tutorial to show this technique is linked in the Appendix section.
Assembly:
- Triangles are attached to the string using Whip stitch using the same colour as per bind-off row.

Instructions to make Tunisian crochet bunting:
Tunisian Crochet Bunting
single colour triangles
Make 1 in A, B, C, D.
Chain 2.
Row 1 FP: Insert the hook in the back bump of second ch from hook, yrh and pul. 2 lps on hook.
Row 1 RP and all other RPs: Standard RP.
Row 2: Tfs, ES. 3 lps on hook.
Row 3: Inc A (inc), tss, ES. 4 lps on hook.
Row 4: Tss in next 2 sts, ES.4 lps on hook.
Row 5: inc A (inc), tss in next 2 sts, inc B (inc), ES.6 lps on hook.
Row 6: Tss in next 4 sts, ES. 6 lps on hook.
Row 7: inc A (inc), tss across to last st, inc B (inc), ES.8 lps on hook.
Row 8: Tss across to last st, ES. 8 lps on hook.
Row 11: Rep Row 7. 27 lps on hook.
Pattern repeat
Rows 9-28: Rep Rows 7-8. 28 lps on hook.
Row 29: Stitch pattern bind-off.
Fasten-off.

4 colour triangles
Make 1 using B, D, C, A.
With B, ch 2.
Rows 1-6: Rep Rows 1-6 of 1 colour triangle.
Row 7 FP: Rep FP of Row 7 of 1 colour triangle.
Row 7 RP: Standard RP to last 2 lps, yrh with D, pull through 2.
Rows 8-13: with D, Rep Rows 8-13 of 1 colour triangle.
Row 14 FP: Rep FP of Row 14 of 1 colour triangle.
Row 14 RP: Standard RP to last 2 lps, yrh with C, pull through 2.
Rows 15-20: with C, Rep Rows 15-20 of 1 colour triangle.
Row 21 FP: Rep FP of Row 21 of 1 colour triangle.
Row 21 RP: Standard RP to last 2 lps, yrh with A, pull through 2.
Rows 22-28: with A, Rep Rows 22-28 of 1 colour triangle.
Row 29: Tunisian simple stitch bind-off.
Fasten-off.

Make 1 using D, C, A, B.
With D, ch 2.
Rows 1-6: Rep Rows 1-6 of 1 colour triangle.
Row 7 FP: Rep FP of Row 7 of 1 colour triangle.
Row 7 RP: Standard RP to last 2 lps, yrh with C, pull through 2.
Rows 8-13: with C, Rep Rows 8-13 of 1 colour triangle.
Row 14 FP: Rep FP of Row 14 of 1 colour triangle.
Row 14 RP: Standard RP to last 2 lps, yrh with A, pull through 2.
Rows 15-20: with A, Rep Rows 15-20 of 1 colour triangle.
Row 21 FP: Rep FP of Row 21 of 1 colour triangle.
Row 21 RP: Standard RP to last 2 lps, yrh with B, pull through 2.
Rows 22-28: with B, Rep Rows 22-28 of 1 colour triangle.
Row 29: Tunisian simple stitch bind-off.
Fasten-off.

Make 1 using C, A, B, D.
With C, ch 2.
Rows 1-6: Rep Rows 1-6 of 1 colour triangle.
Row 7 FP: Rep FP of Row 7 of 1 colour triangle.
Row 7 RP: Standard RP to last 2 lps, yrh with A, pull through 2.
Rows 8-13: with A, Rep Rows 8-13 of 1 colour triangle.
Row 14 FP: Rep FP of Row 14 of 1 colour triangle.
Row 14 RP: Standard RP to last 2 lps, yrh with B, pull through 2.
Rows 15-20: with B, Rep Rows 15-20 of 1 colour triangle.
Row 21 FP: Rep FP of Row 21 of 1 colour triangle.
Row 21 RP: Standard RP to last 2 lps, yrh with D, pull through 2.
Rows 22-28: with D, Rep Rows 22-28 of 1 colour triangle.
Row 29: Tunisian simple stitch bind-off.
Fasten-off.
Cord
Measure out approximate length of yarn (308 in (785 cm)) using all 4 strands of yarn held together (20 in (51 cm) length of yarn makes about 5 in (13 cm) of cord) and make a slip knot. Please note that this is a rough approximation and will depend on how tightly the cord is made as well as the type of yarn that is used.
Place crochet hook in slip knot and tighten slightly.
Wrap shorter end of yarn (the one that is not directly leading to ball of yarn) from front to back around the hook (photo 1).
Yarn over with (photo 2) long end and pull through both loops on hook (photo 3).
Repeat steps 3 and 4 for desired length of cord.
Finishing of the Tunisian crochet bunting:
Weave in all ends and block the Tunisian crochet bunting to final measurements as above.
Optional: If you prefer the bunting to have firmer shape, apply laundry starch during blocking.
Attach triangles along top edge (where bind-off was worked) to the cord using Whip stitch as follows:

Weave in all ends from assembly.
I would love to see and share your work on social media, use #tillybunting or #exquisitecrochetuk.
Pattern support: exquisite.crochet.uk@gmail.com
Further resources to make Tunisian crochet bunting:
Pattern video tutorial:
Stitch tutorial:
Cord and assembly:
Photo tutorial: increases:
Increase A

Increase B

Photo tutorial-cord
Photo 1

Photo 2

For endless crochet inspiration, you can subscribe to AllFreeCrochet website here.
If you prefer to have all your craft inspiration in one place, FaveCrafts is definitely the place to go. Why not subscribe to their newsletter here so you would not miss a thing!
You can purchase the add free PDF version of the pattern at LoveCrafts here and Ravelry here.
Did you enjoy the Tilly Bunting pattern? Why not try my other crochet home decor patterns:


Thank you so much if you got this far in the pattern! I hope you got inspired for your own version using various colours. I can’t wait to see it! Don’t forget to tag me on Instagram and let me know in the comment section below how you got on with it! As always, if you have any pattern query, the quickest way to get it answered is by emailing me on the pattern support email address above.
Happy crocheting!
Pin it to your Pinterest boards for inspiration!

